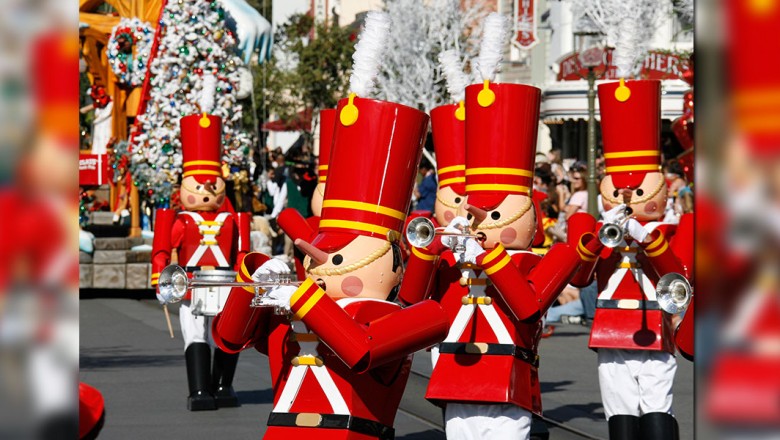
Is there any place like a Disney park for the holidays? Not to a Disney fan! From the food to the lights to the décor, a day at the parks during the holidays always leaves us trying to figure out how to re-create that holiday magic at home. We went right to the source—our friends from the Disneyland Food & Beverage Concept Development and Resort Enhancement teams—for some tips to make your holidays a little more merry and bright!
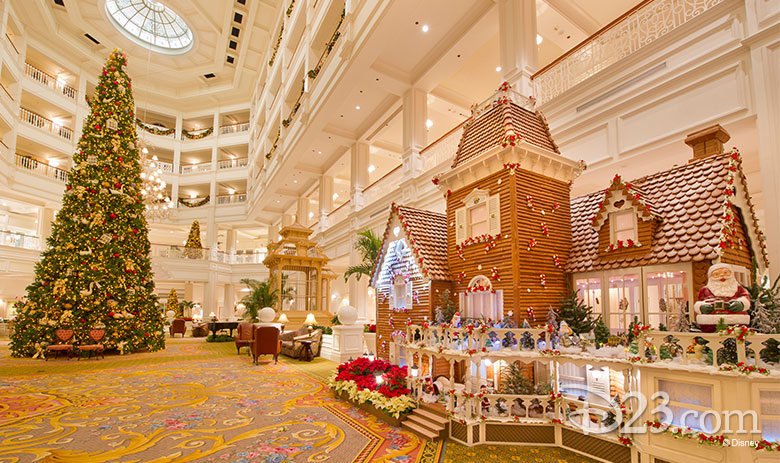
Q: There are so many gingerbread house-building kits available in stores. What are some fun and easy ways to decorate them so that they feel more unique… and are there any simple ways to make them more “Disney”?
A: Decorating gingerbread cookies, houses, and even hotels, is a lot of fun, and it’s very easy to give them some magical Disney touches with classic holiday candy and even some of your favorite Disney toys.
- Bringing in a favorite theme is key—by using shredded wheat cereal on the rooftop and pretzels for trim you now have a cottage Snow White and the Seven Dwarfs will love!
- Mouse ears and “hidden”—and not-so-hidden!—Mickeys are always welcome: Simply take a round candy of one size (peppermints, gumdrops, and such) and top them off with round candies of a smaller size, and, voila—you have an instant Mickey!
- Another easy way to bring in the Disney theme is to just add a small (appropriate scale) toy figurine of your favorite characters—now they become inhabitants to your creation.
- Finally, an edible glitter can be found at most cake decorating shops. Around here, we call it Pixie Dust! This final topping will bring a dazzling effect to your creation.
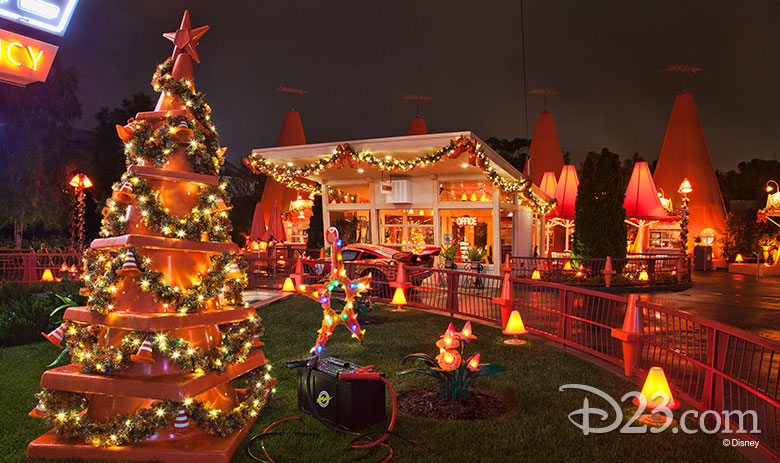
Q: Any recommendations for how to light or decorate the outside of your house so that your friends and neighbors are dazzled, rather than blinded by the light?
A: When it comes to decorating your front yard, there are a lot of ways to make your house the envy of the neighborhood:
- Lighting: Find a clean way to attach your lighting along the roofline. A good way to do this is to line it along the trim of your house, helping to complement the contours of the exterior.
- Trees: Decorated live trees are a fabulous addition to any front yard decorations. A nice arrangement of lit live trees makes for a fantastic focal point. When the holiday season is over, the trees can then be planted or donated to your local tree-planting program for Arbor Day.
- Décor: If you want to use lawn décor, the best way to decide which décor to use is to know what story you want to tell:
- Create a sweet, Snow White-like atmosphere with wicker deer. Set a tree next to the deer and light it with yellow and blue lights to represent Snow White’s dress.
- Make a Frozen scene by placing snowmen on the lawn with some faux rocks painted to look like the trolls from the Valley of the Living Rock.
- Painted wood cutouts are also a great way to decorate your front yard—and are fairly simple to do at home. Create templates to cut out the wood. You can use carbon paper found at art supply stores to transfer the image to the wood, and then paint over the tracing.
Q: What’s an easy way to wrap a present or make a gift look special, especially if you aren’t a natural with paper and scotch tape?
A: No tape? No problem! Two great ways to wrap presents are with fabric or origami.
- You can use fabric the same way you would use gift-wrap, except the fabric can tie back together on itself which makes for clean lines.
- Origami is a fun and clever way to wrap presents. Tutorials for both methods can be found online.
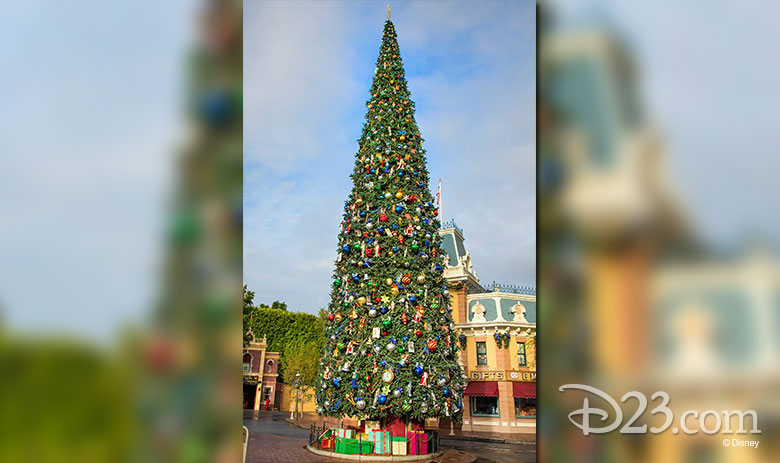
Q: Any suggestions for how to “Disney Bound” your Christmas tree and make it feel Disney-inspired?
A: As you begin planning to decorate a fantastic “Disney Bound” tree, decide first on a theme, story, or character. Use your tree as a blank canvas. Think outside of the box!
- Single-color ornaments and your lighting are great for color blocking. Color blocking is the best way to set your “background” for the design.
- Instead of using small ornaments in your tree, use props to describe your theme, story, or character. Use larger, heavier props at the bottom, medium-size in the center of the tree, and the smallest props at the top. Don’t be afraid to make your own props! Toys are also a great way to add to your story and to have all of the family involved.
- Your tree topper should make a statement and really set your story. Your local craft store has a lot of great supplies to design and create your own topper.
Example:
Theme: Star Wars
Color Blocking with ornaments and lighting: Purple and blue ornaments, cool white mini lights, and some star shaped lights.
Props to use: Yoda doll, Jabba the Hut doll, and star-shaped ornaments. X-wing and Millennium Falcon toys will create a wonderful flight scene on the tree.
Tree Topper: The Death Star! Use foam sphere halves, lights, air-dry clay, and craft paint—all purchased from a craft store. Puncture lights through both sphere halves. Glue the halves together. Use a wooden dowel and puncture through the bottom of the sphere. This is how you will attach the topper to the tree. Use air-dry clay to cover the sphere and to help shape the curves of the Death Star. Once the clay is dry, cover lights with painter’s tape and paint the Death Star Detail. The lights of your Death Star tree topper can plug into the lights you have on the rest of the tree.
Example:
Character: Elsa
Color blocking with ornaments and lighting: Frosted ornaments, blue ornaments, silver and white ornaments (Elsa’s hair), and cool white and blue lighting.
Props to use: A blue and lace tree skirt (Elsa’s cape), snowflake ornaments, and icicle ornaments. Make use of craft supplies to create Olaf and Marshmallow the Snow monster. Hide the two characters in the tree as a surprise for people to find as they are admiring your beautifully designed tree!
Tree Topper: A large snowflake or an acrylic sculpture that resembles an ice sculpture.


