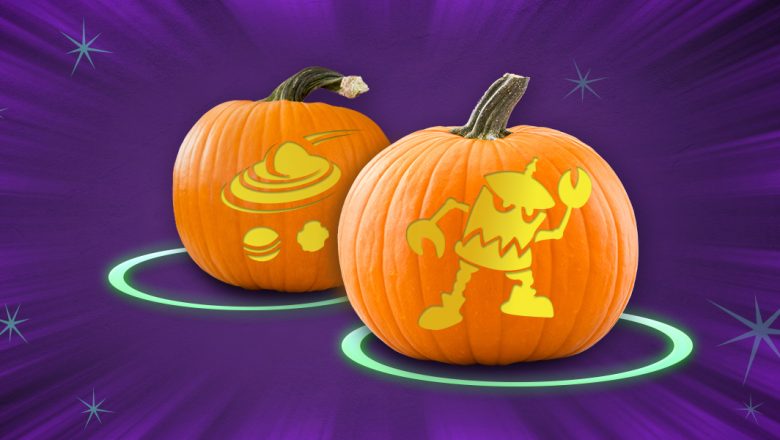
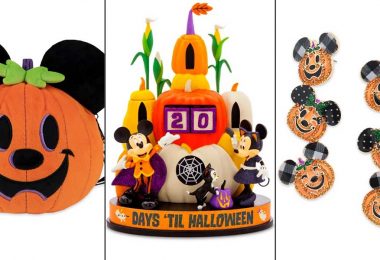
By the D23 Team
Please note, these stencils are not for beginner pumpkin carvers. Kids, be sure to have an adult help you with the carving tools!
What you will need for the stencils:
Ready-to-carve pumpkin
Standard printer paper
Soft graphite pencil
Clear tape
Ballpoint pen
Black permanent marker
Pumpkin-carving tools
Instructions:
- Download and print the template on standard printer paper. Scribble heavily all over the back of the template with a soft graphite pencil.
- Tape the template onto a ready-to-carve pumpkin that is clean and dry with the scribbled pencil side on the pumpkin.
- Trace over the template with the ballpoint pen to transfer the image onto the pumpkin. Define the template with a marker and then carve out the design.
What you will need for the decorations:
8.5 x 11-inch white printer paper
Scissors
Decoupage or double-sided tape
OPTIONAL: 8.5 x 11-inch white sticker paper (found in scrapbooking section of craft store)
Instructions:
- Download and print out this sheet of stickers onto printer paper or sticker paper.
- Using scissors, cut around each sticker (using its pink border as your guide).
- Attach to your pumpkin using decoupage, double-sided tape, or self-adhesive (if using sticker paper).


