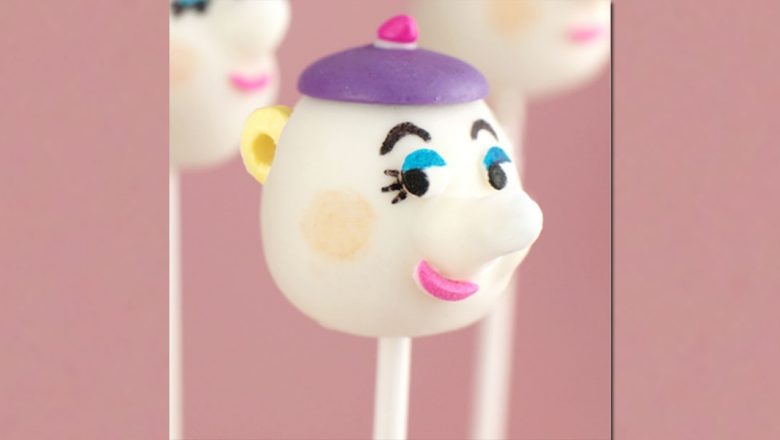
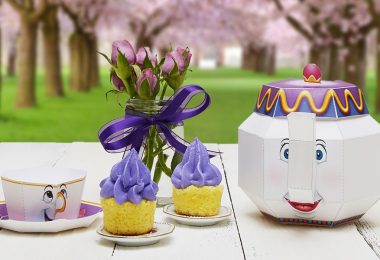
The perfect afternoon tea treat! Enjoy these Mrs. Potts cake pops from our friends at Disney Family.
Ingredients
1 box cake mix (bake as directed on box for 13×9 cake)
One 16-ounce can of ready-made frosting
Wax paper
Baking sheets
White candy coating
Purple candy melts (teapot lid and base)
White licorice pastilles for spout (we used Good & Plenty)
Yellow candy necklace pieces (handle)
Pink rainbow chip sprinkles (knob on lid)
Pink colorstick sprinkles (mouth)
Pink, blue and white confetti sprinkles (eyes and base decorations)
Blue, black and peach edible ink pens (facial details)
Toothpicks
Paper lollipop sticks
Styrofoam block
Preparation
- After cake is cooked and cooled completely, crumble into a large bowl. Note: Light-colored cakes will work best with white candy melts. Darker colored cakes may show through the coating.
- With a large spoon, mix crumbled cake thoroughly with about 3/4 of the can of frosting. You won’t need the rest.
- Roll mixture into quarter size cake balls and place on a wax paper covered baking sheet. Place cake balls in the freezer for about 15 minutes to firm them up. You can transfer them to the refrigerator to keep chilled and avoid freezing.
- When they are firm, shape the balls so the bottom is slightly fuller than the top. You want the size to be proportional to the candy melts as pictured.
- Return the cake pops to the refrigerator to maintain firmness.
- Melt white candy coating in a heat-proof plastic bowl so that the coating is 3-4 inches deep for easy dipping. Melt in the microwave in 30 second intervals on low, stirring in between. Repeat until melted and smooth.
- Remove a couple of cake balls at a time from the refrigerator to work with.
- Dip the tip of a lollipop stick into the melted coating and insert into the bottom of the teapot. Then, dip one end of a white licorice candy spout into the melted candy coating. Attach the spout to the side of the cake pop and the coating will set like glue.
- Place in a styrofoam block to dry. After a few minutes you can carefully dip the entire cake pop with spout attached into the bowl of melted candy coating. Dip and remove in one motion without stirring. Make sure the entire cake ball is covered. Using a deep bowl is helpful here. If your coating is too thick, you can add a few drops of vegetable oil or shortening to help thin it and make it easier to work with. Remove and allow any excess coating to fall off the pop and back into the bowl.
- Before the coating sets, attach one purple candy melt on top of the cake pop for the lid and one yellow candy necklace piece in the back for the handle. Repeat with the remaining pops. Place in a styrofoam block to dry.
- When dry, use a toothpick to dot a tiny amount of coating in position for the eyes and attach one white confetti sprinkle for each eye. Use the same technique to attach the rainbow chip for the knob and the colorstick sprinkle for the mouth.
- Use a black edible ink pen to draw pupils, eyelashes and eyebrows. Use the blue edible ink pen to draw on eyelids and the peach pen to draw the blush.
- You can stop here for Mrs. Potts cake pops or continue to add base decorations without the lollipop stick.
- To add base decorations, carefully twist and remove the lollipop stick. Place a small amount of melted white candy coating on the bottom of the teapot and attach to another purple candy melt (flat side down).
- You can add finishing details by dotting on a small amount of coating and attaching alternating pink and blue confetti sprinkles to the base.


